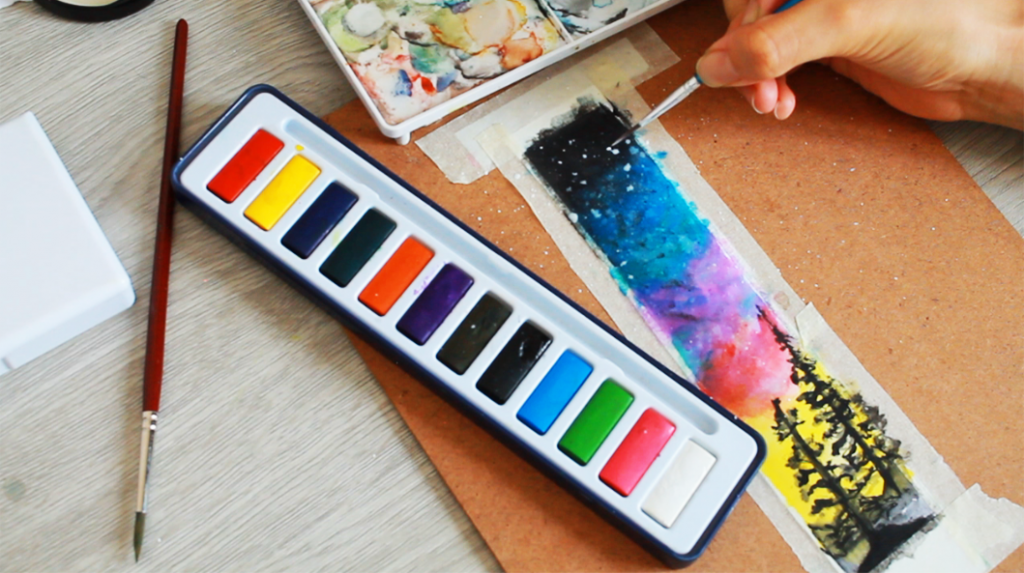
Lost another bookmark again? Dont worry, join us and learn how to create a bright and colorful watercolor galaxy bookmark with 8 colors or less in these simple steps. Forget about needing many colors,all you need are basic colors ,less than 7 to be exact, to create art! Watch the timelapse or head straight to our step by step with pictures.
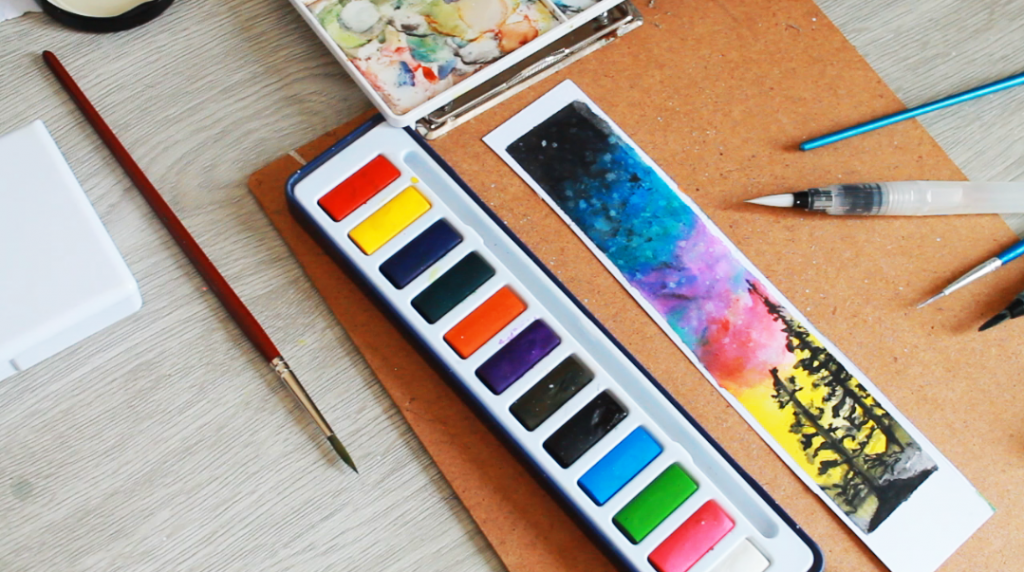
Step by step:
1. STRETCH YOUR PAPER
After having the perfect size for your soon to be watercolor galaxy bookmark head forward to stretch your paper with masking tape (this helps to reduce paper deformation).

2. START WITH BLUES AND GREENS
Begin by painting with watercolor light blues and greens in the middle of your paper,later extend watercolor yellow throughout the buttom part.
3. ADD INTENSITY COLORS
Gently add some violet and afterwards start with the intense black on top. Rule of thumb: Make circular padded motions. Never start with black
4. MAKE IT POP WITH REDS
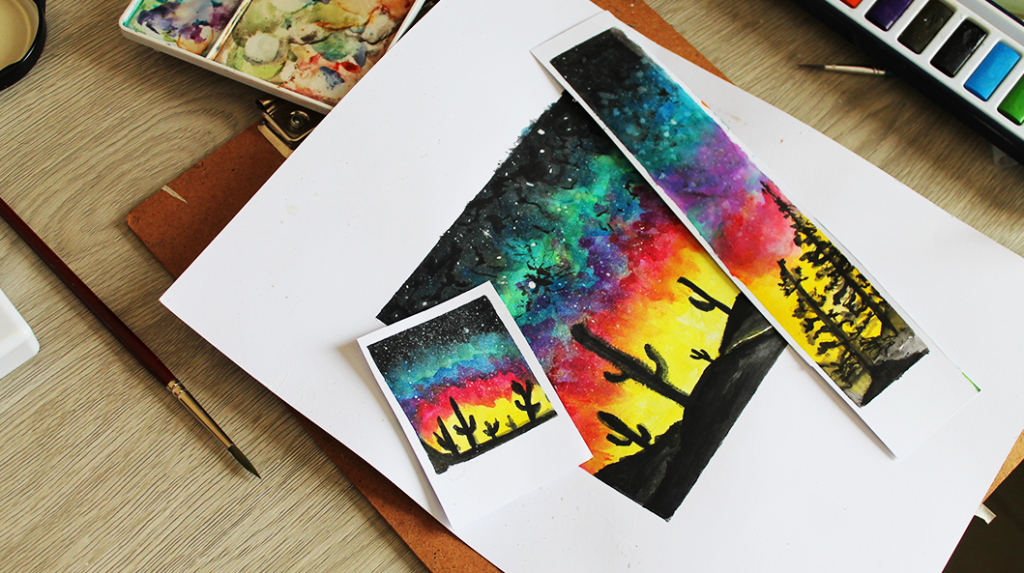
After being happy with the amount of watercolors of your sky ,go ahead with the black watercolor trees. If you prefer you can do instead cactus,mountains or even add small houses to your background. You can also do cactus,mountains or even add small houses to your background. Rule of thumb: Avoid straight strokes.
5. SPRINKLE SNOWY WHITE
Use your fine brush included in your Atssi watercolor set for small details. Continue by sprinkling some white watercolor for the stars and make some adjustments to your landscape gradually.
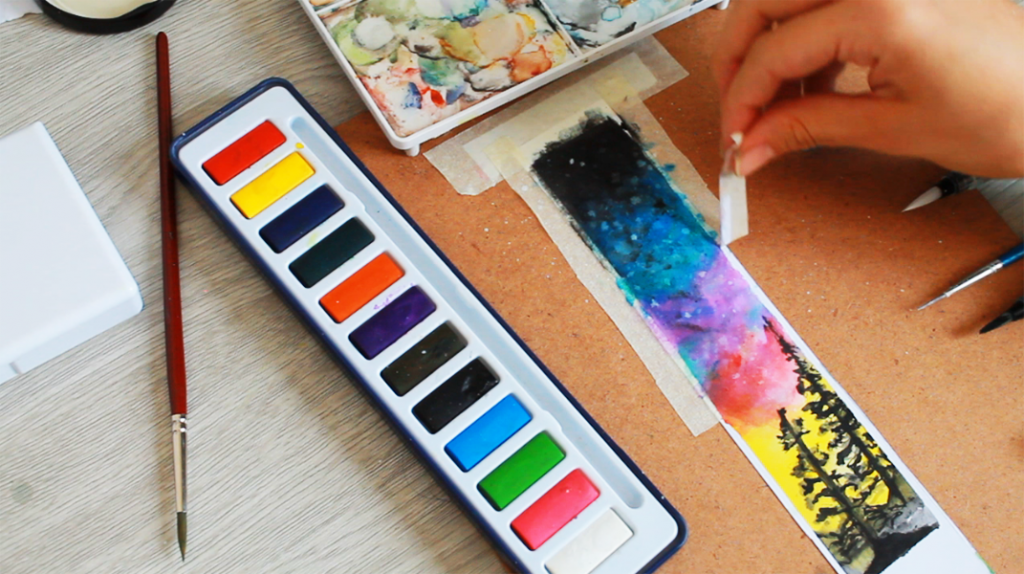
6. REMOVE MASKING TAPE
Let dry your watercolor and when ready remove gently the masking tape. As you can see tape is all you need to get perfect watercolor frames!
Try this watercolor galaxy and make sure you tag us! Use #myATSSI on Instagram
Put on your warmest wool socks, brew a mug of your favorite tea and settle in under a heap of soft blankets with a good book.
– The ATSSI team

